Print multiple patterns in one fabric or textile product through Elobina’s designstudio.
In addition to using Elobina and designer patterns or uploading an image or a pattern design, Elobina’s design studio offers a third helpful tool in editing your images and patterns and creating your fabrics and textile products. Using Elobina collage, you may upload multiple images and patterns into one unique fabric or product. You may upload up to nine images, patterns, or a combination of both. Your collage will be printed on the fabric or product of your choice.
Who can use the collage in Elobina designstudio? That’s easy! Anyone can use the collage in the design studio. Are you an artist who plans to sell your work in your shop? A private person who wants to give a special someone a personalised gift for an occasion? An item for interior design? The list is long. One thing is certain, though: you can do all of this in our design studio.
You can include pictures of beautiful landscapes, memorable moments from your favourite vacations, your family, your pets, and more. You are free to create and draw any designs you want. There are endless options.
How to use elobina designstudio collage:
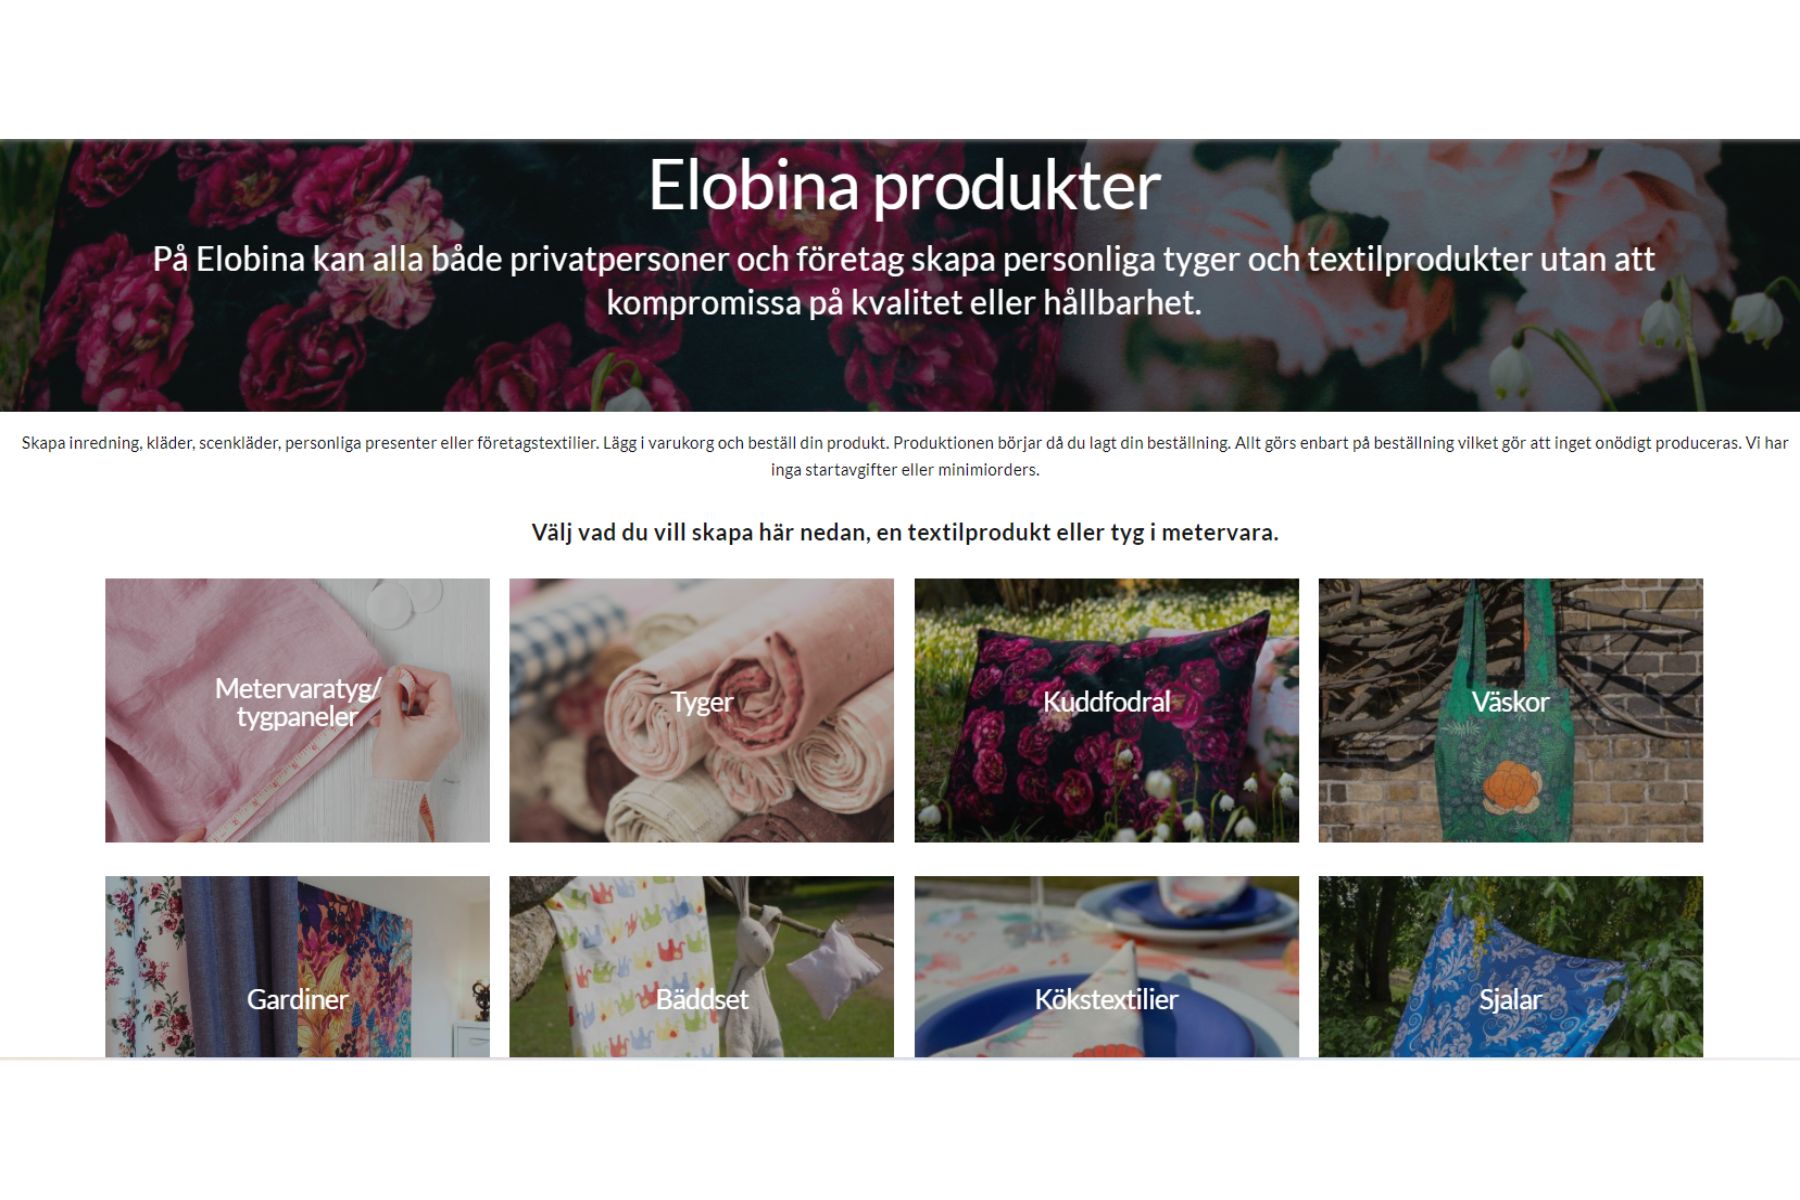
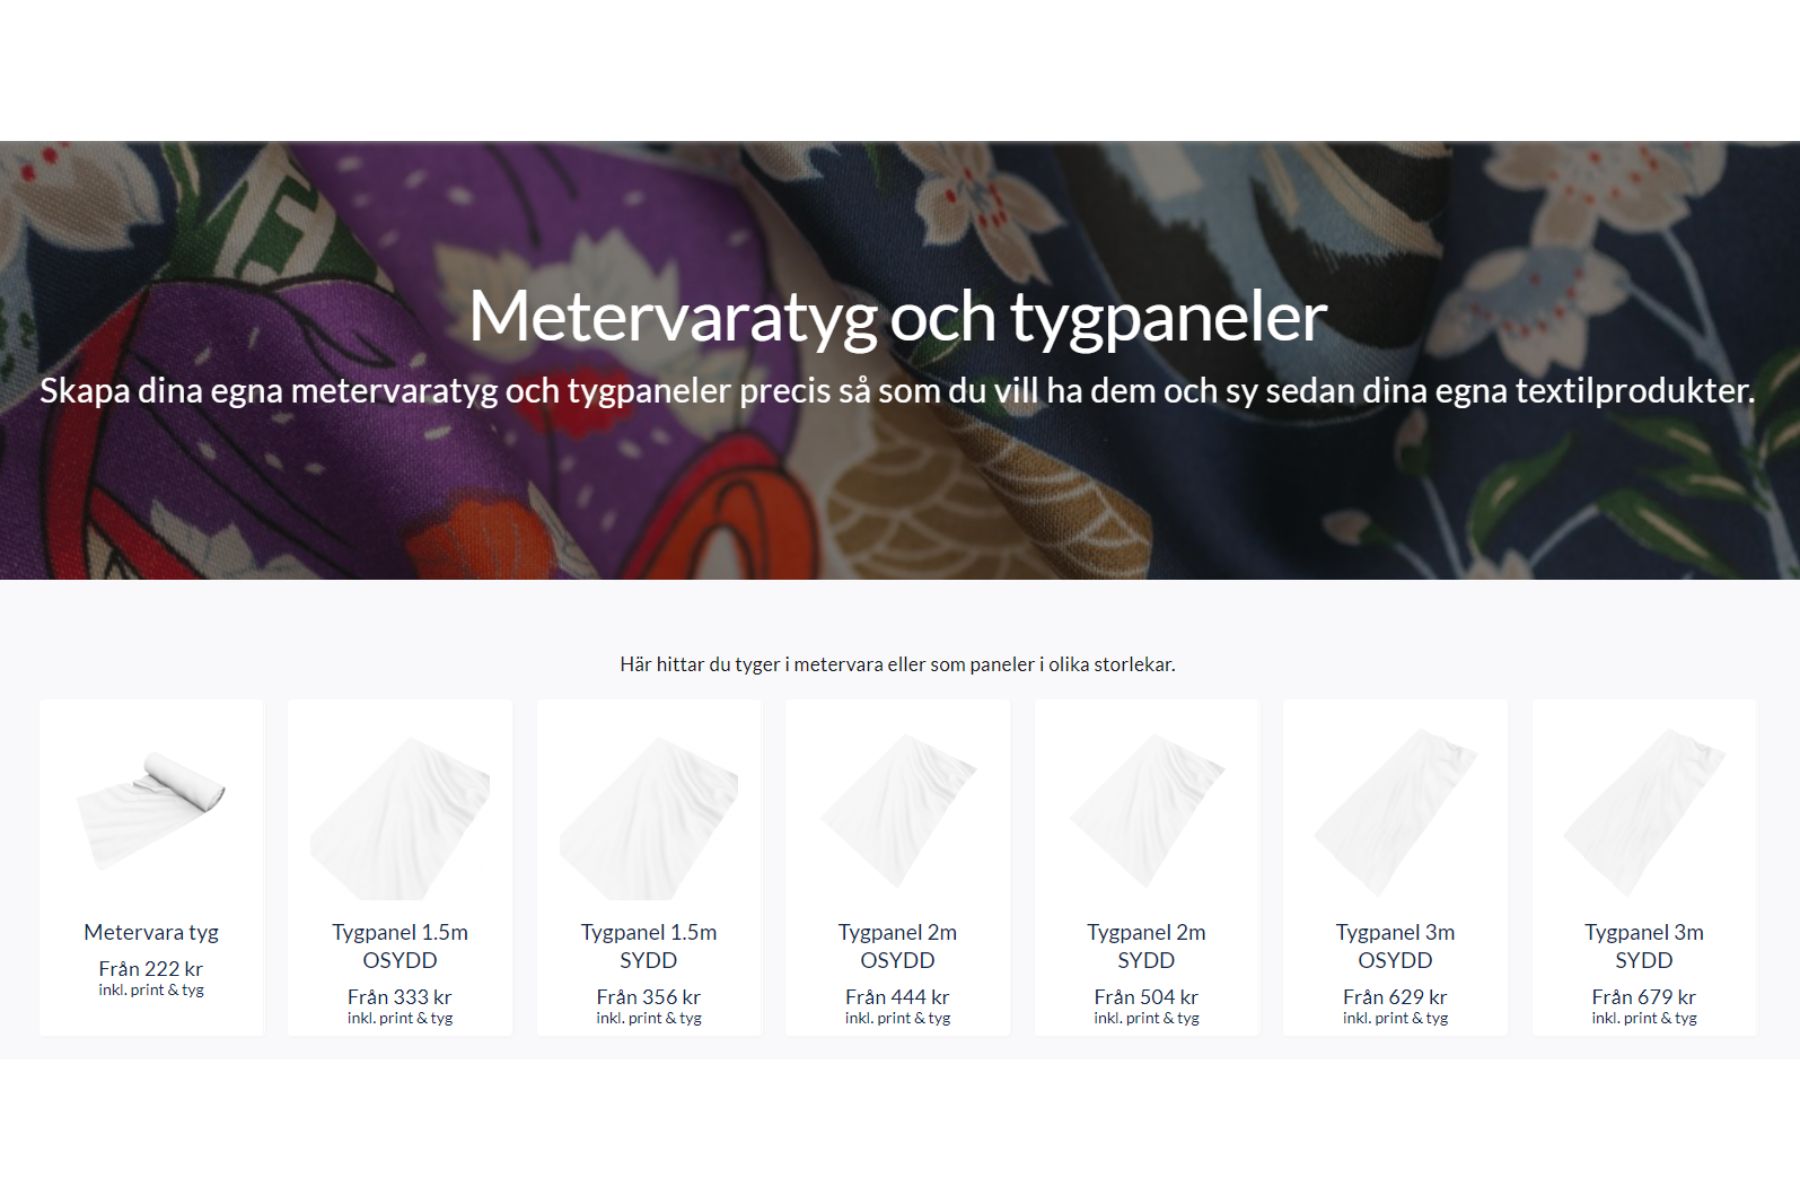
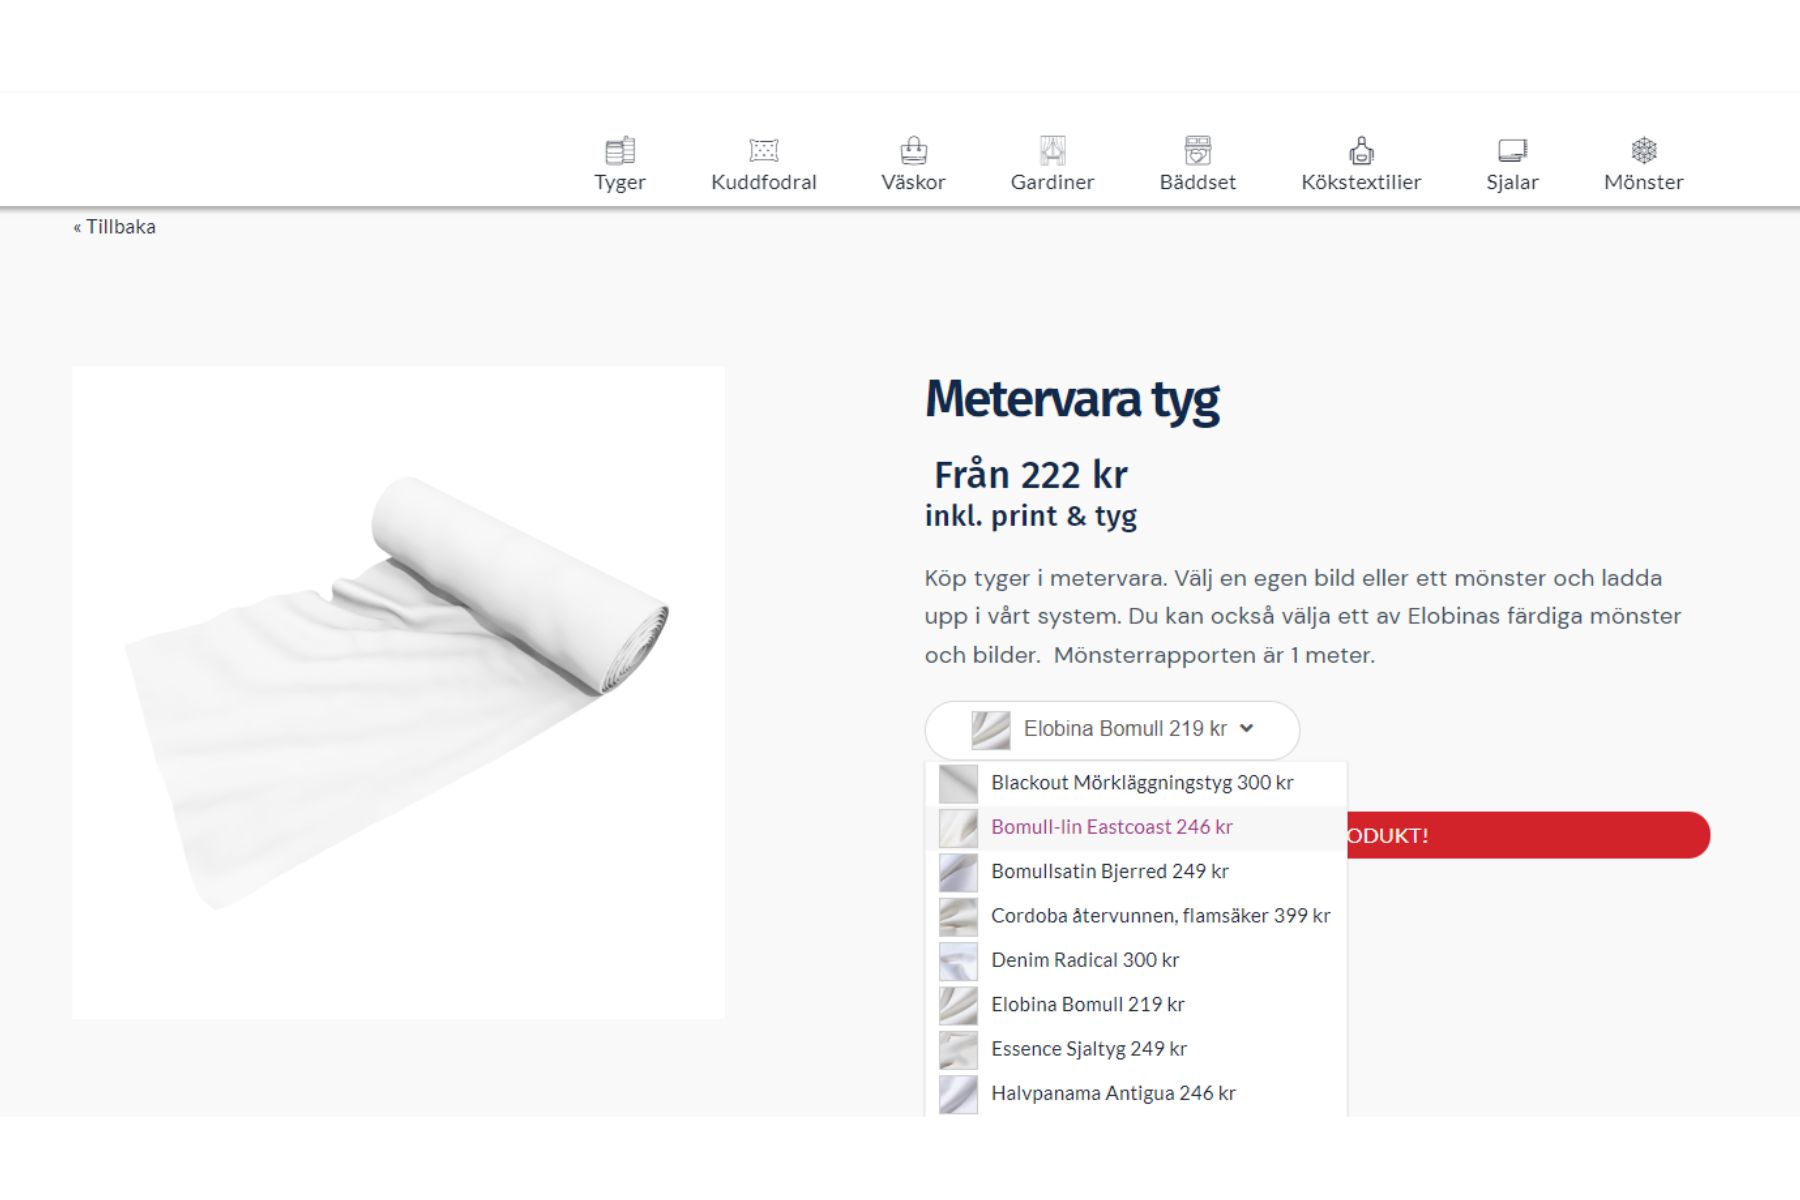
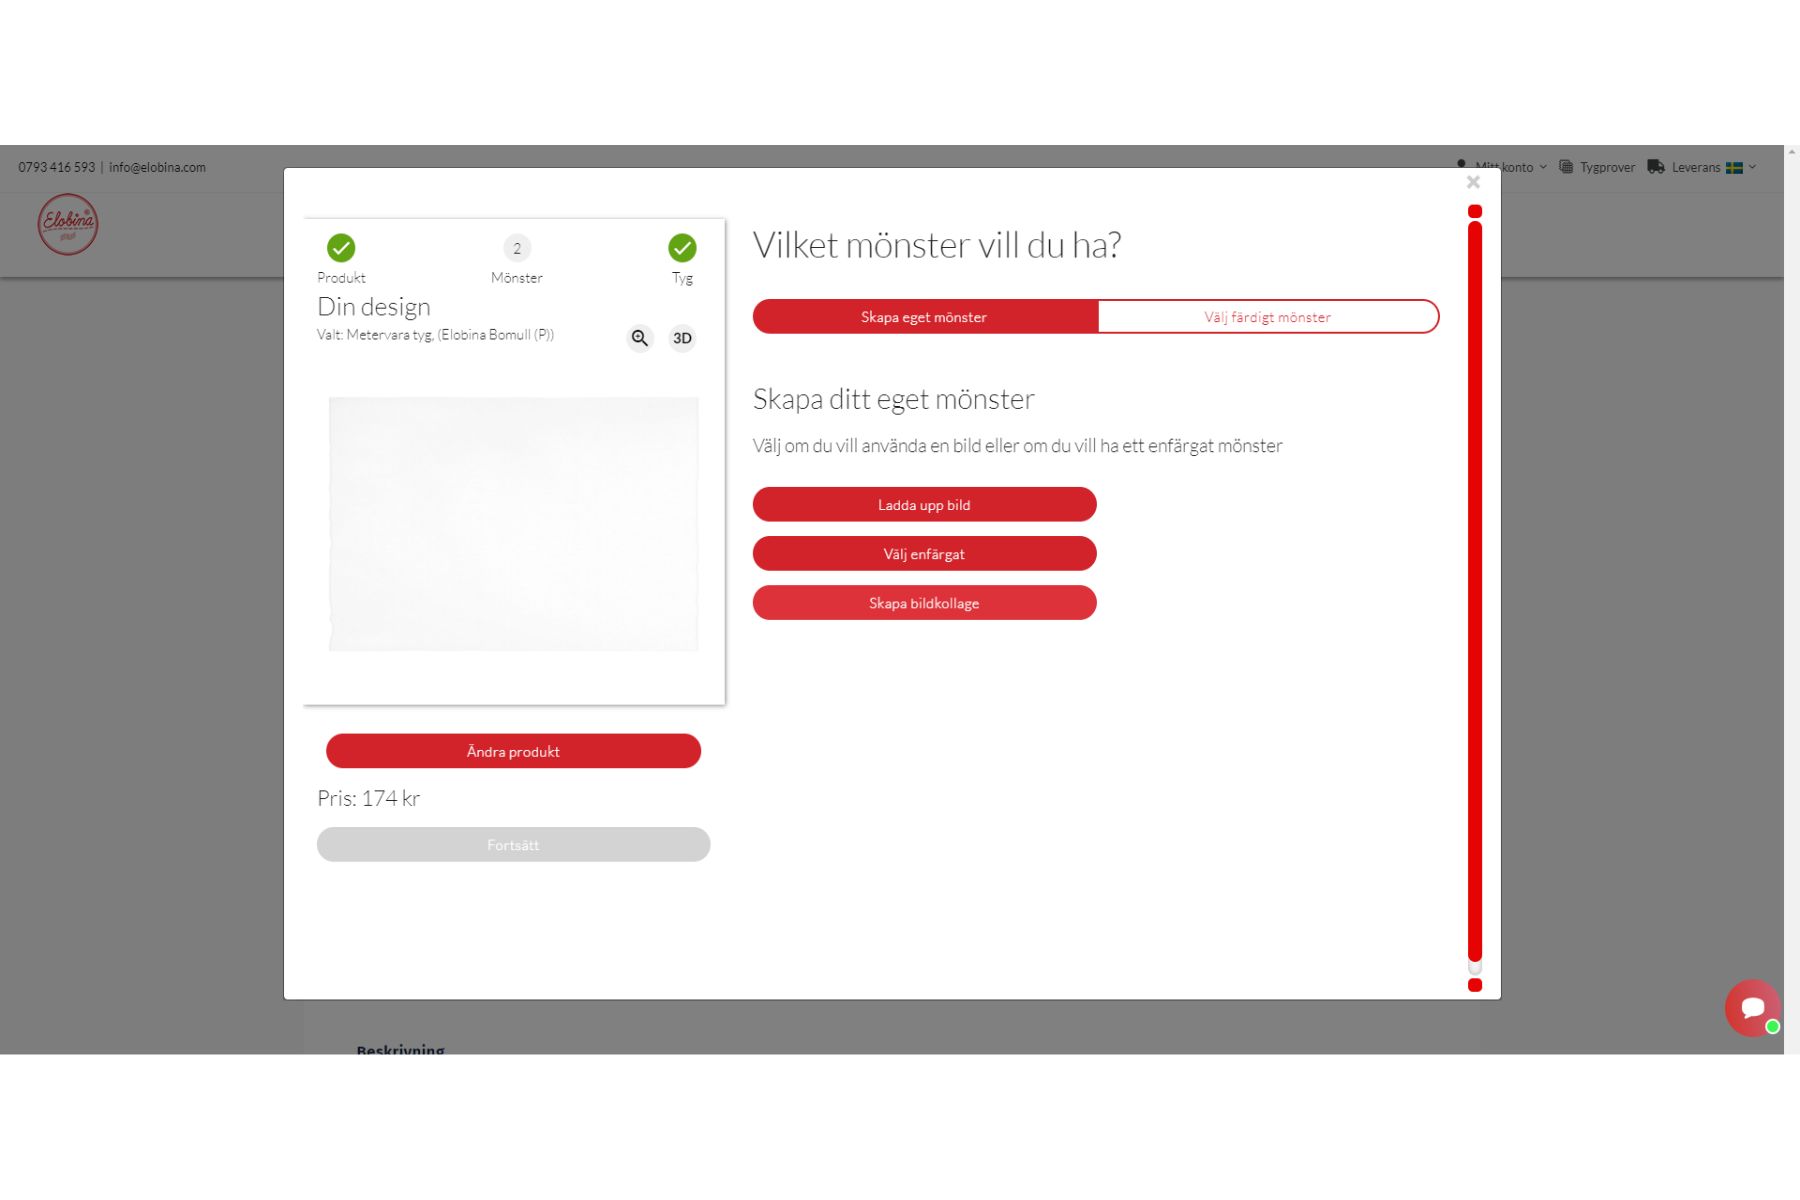
Whether you want a designer pattern, to upload your own image or design, or to create a collage, the first step is always the same. Decide whether you want to make a fabric or a textile product first. I’ll use a 1 metre piece of fabric in this blog. Then click Create a Product after selecting what to create and the fabric you want to print your graphics on.
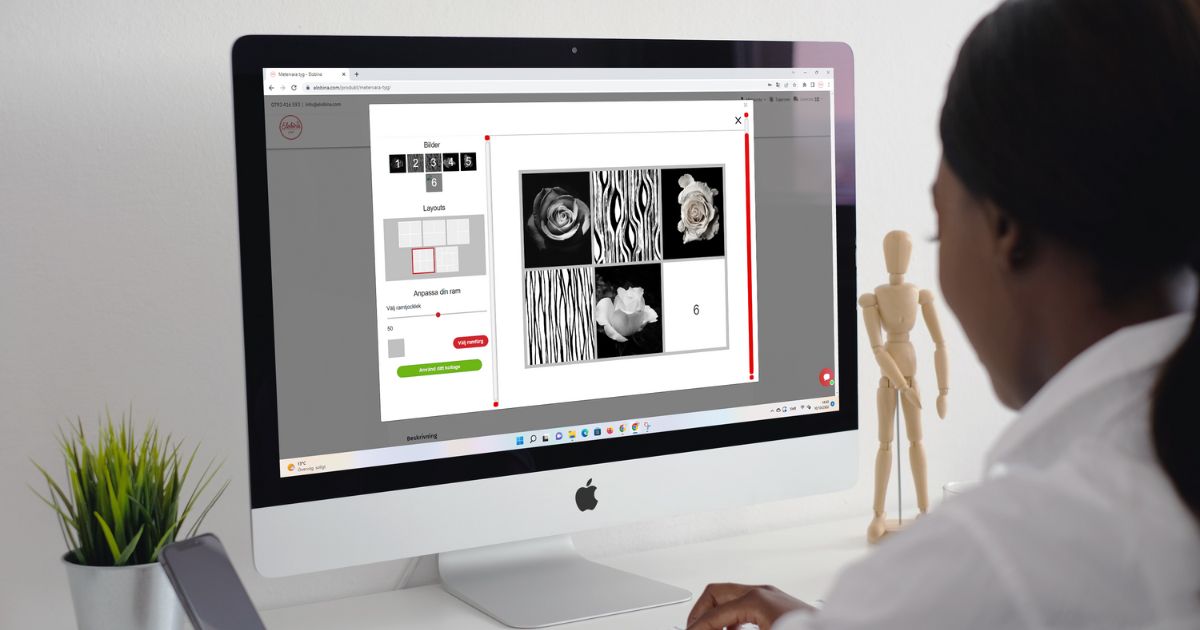
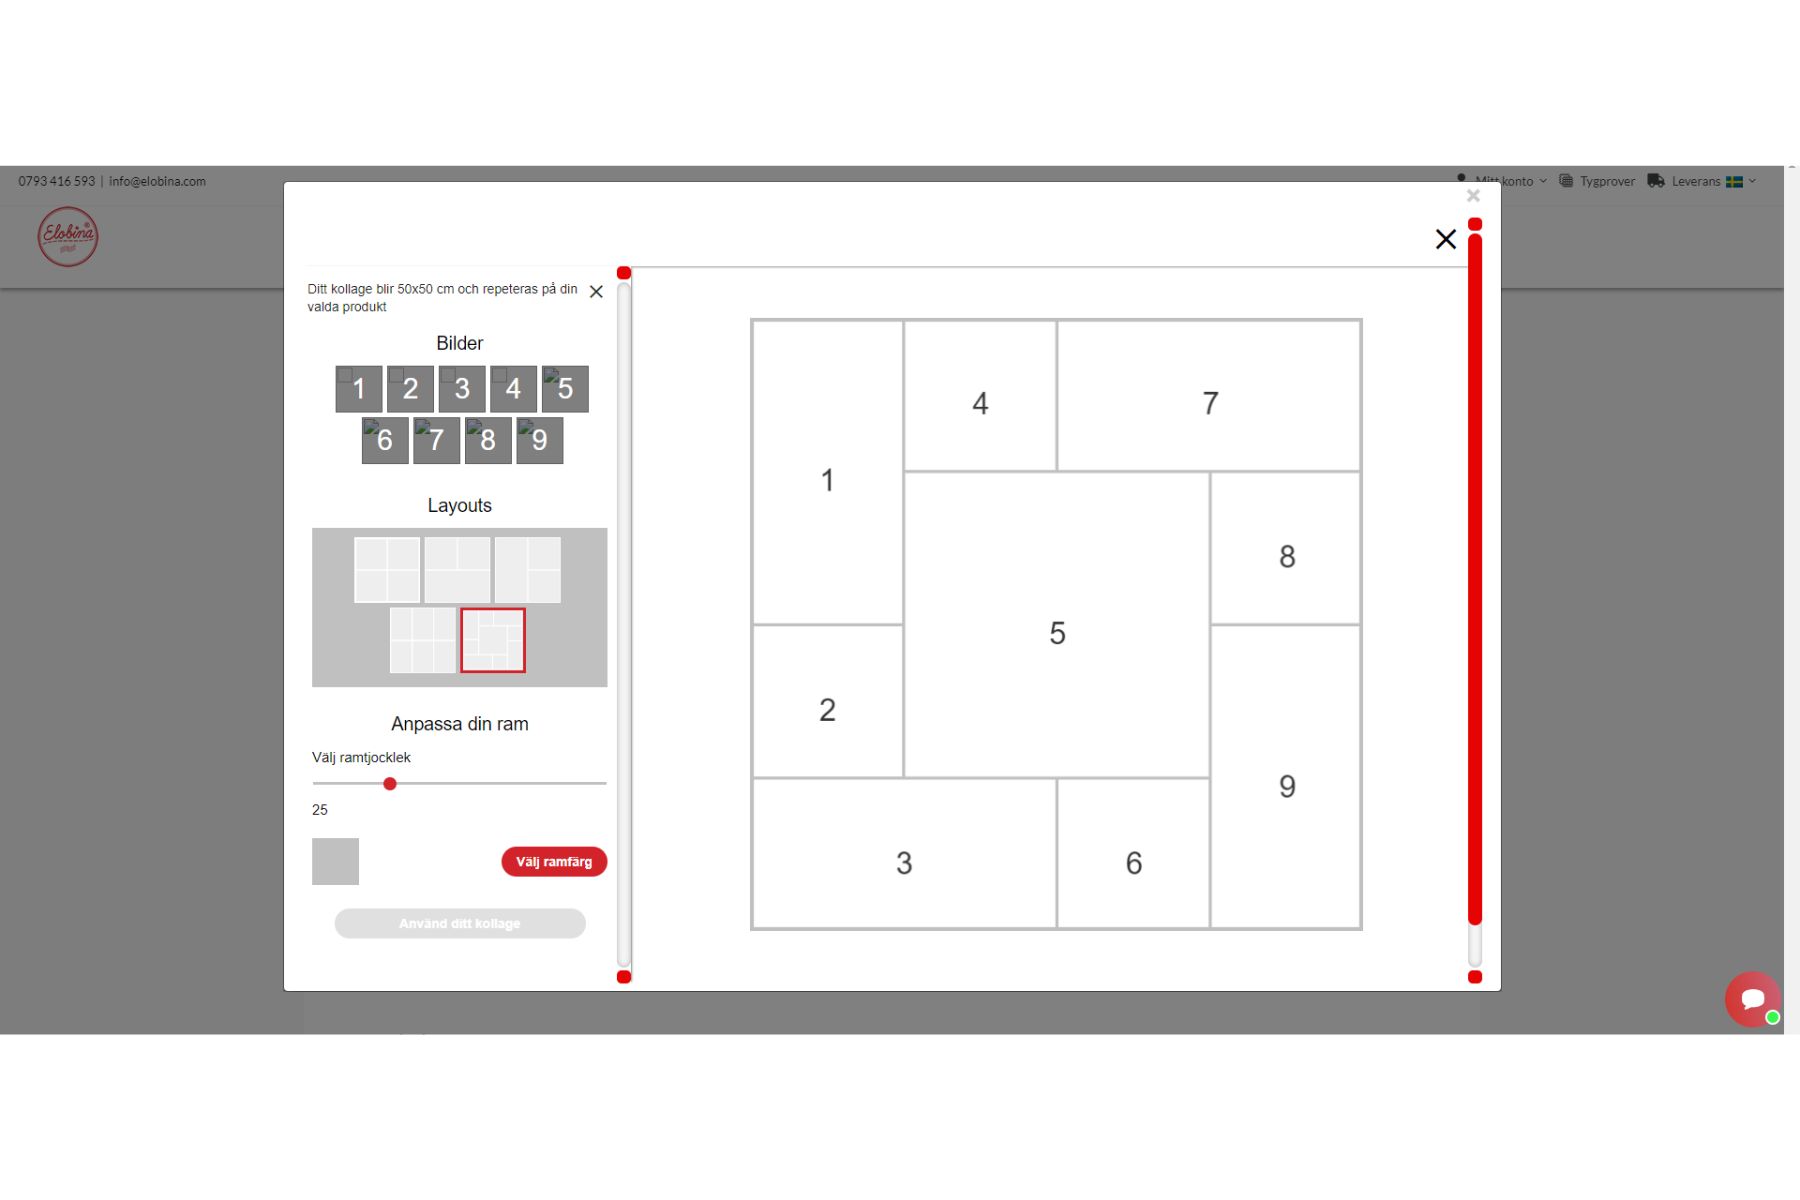
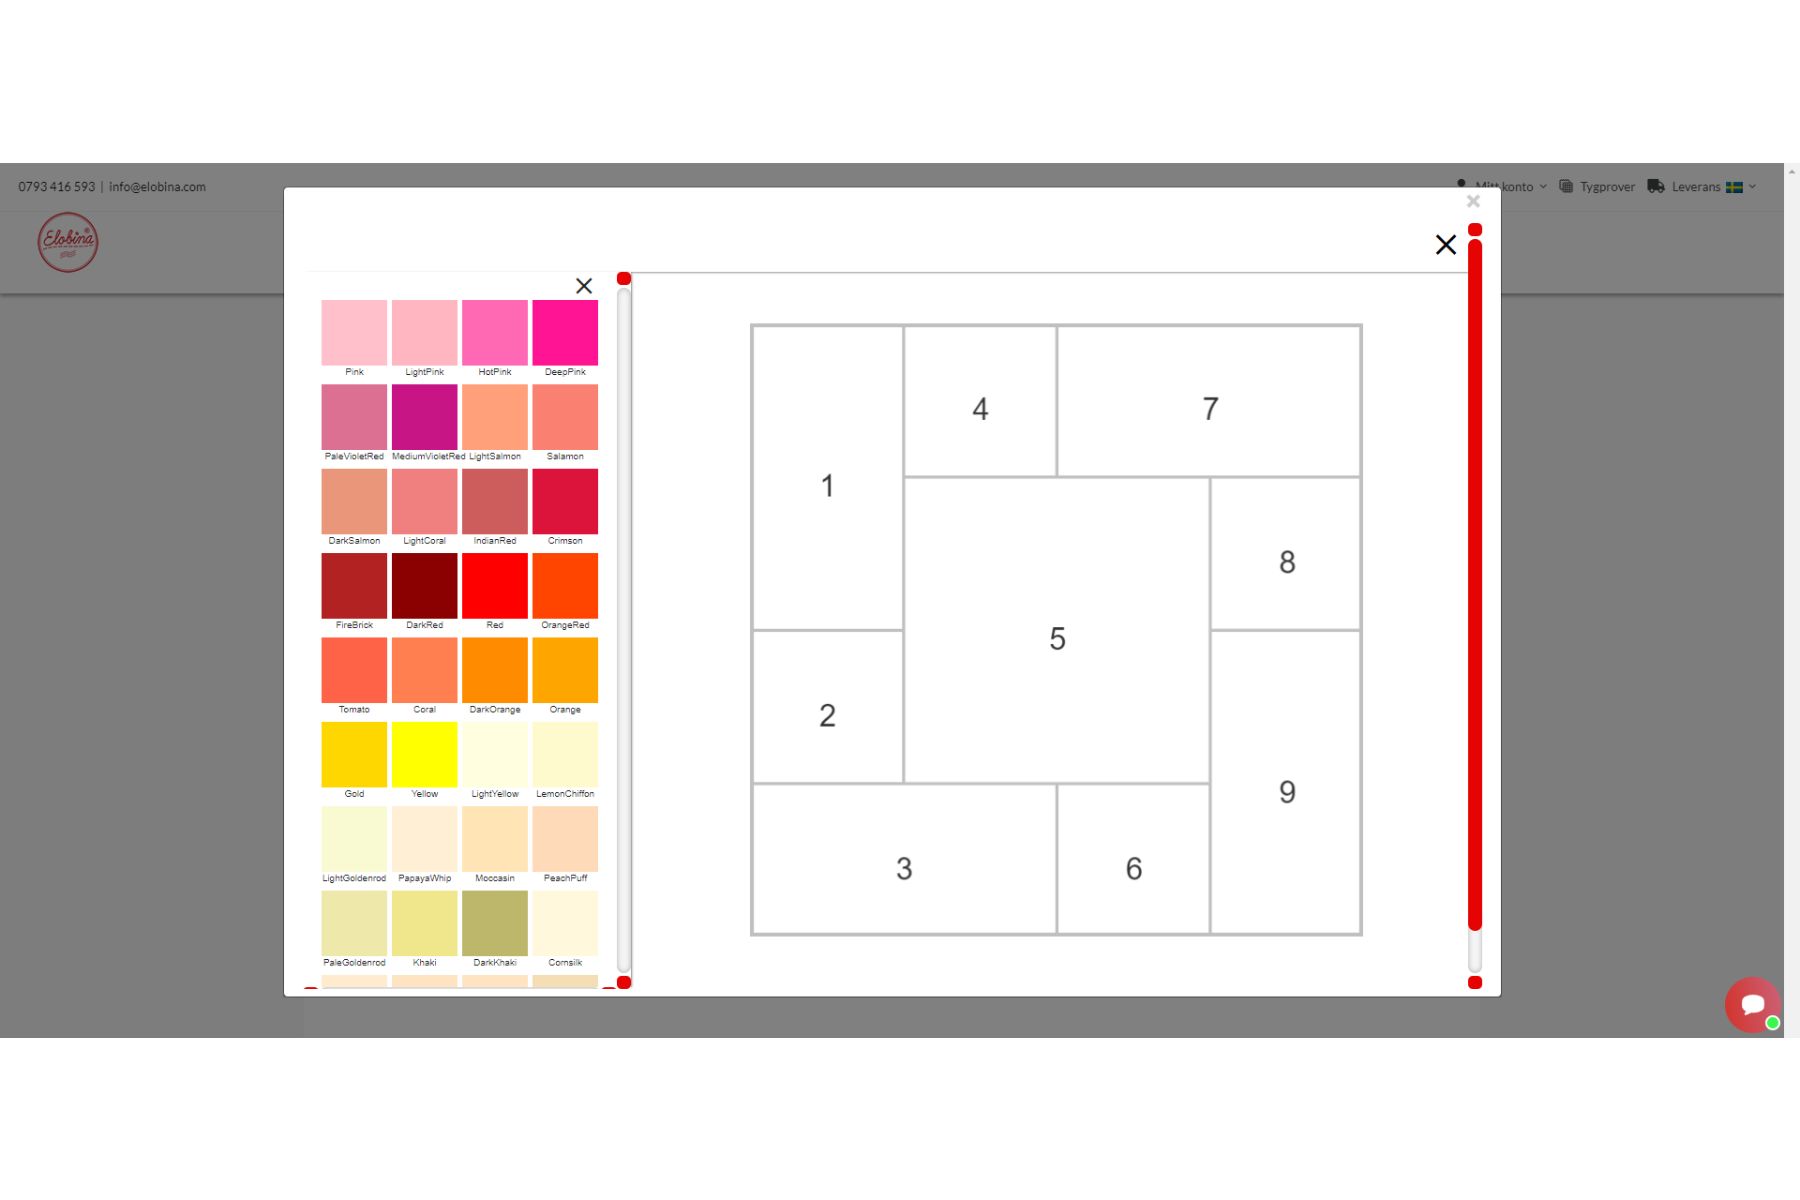
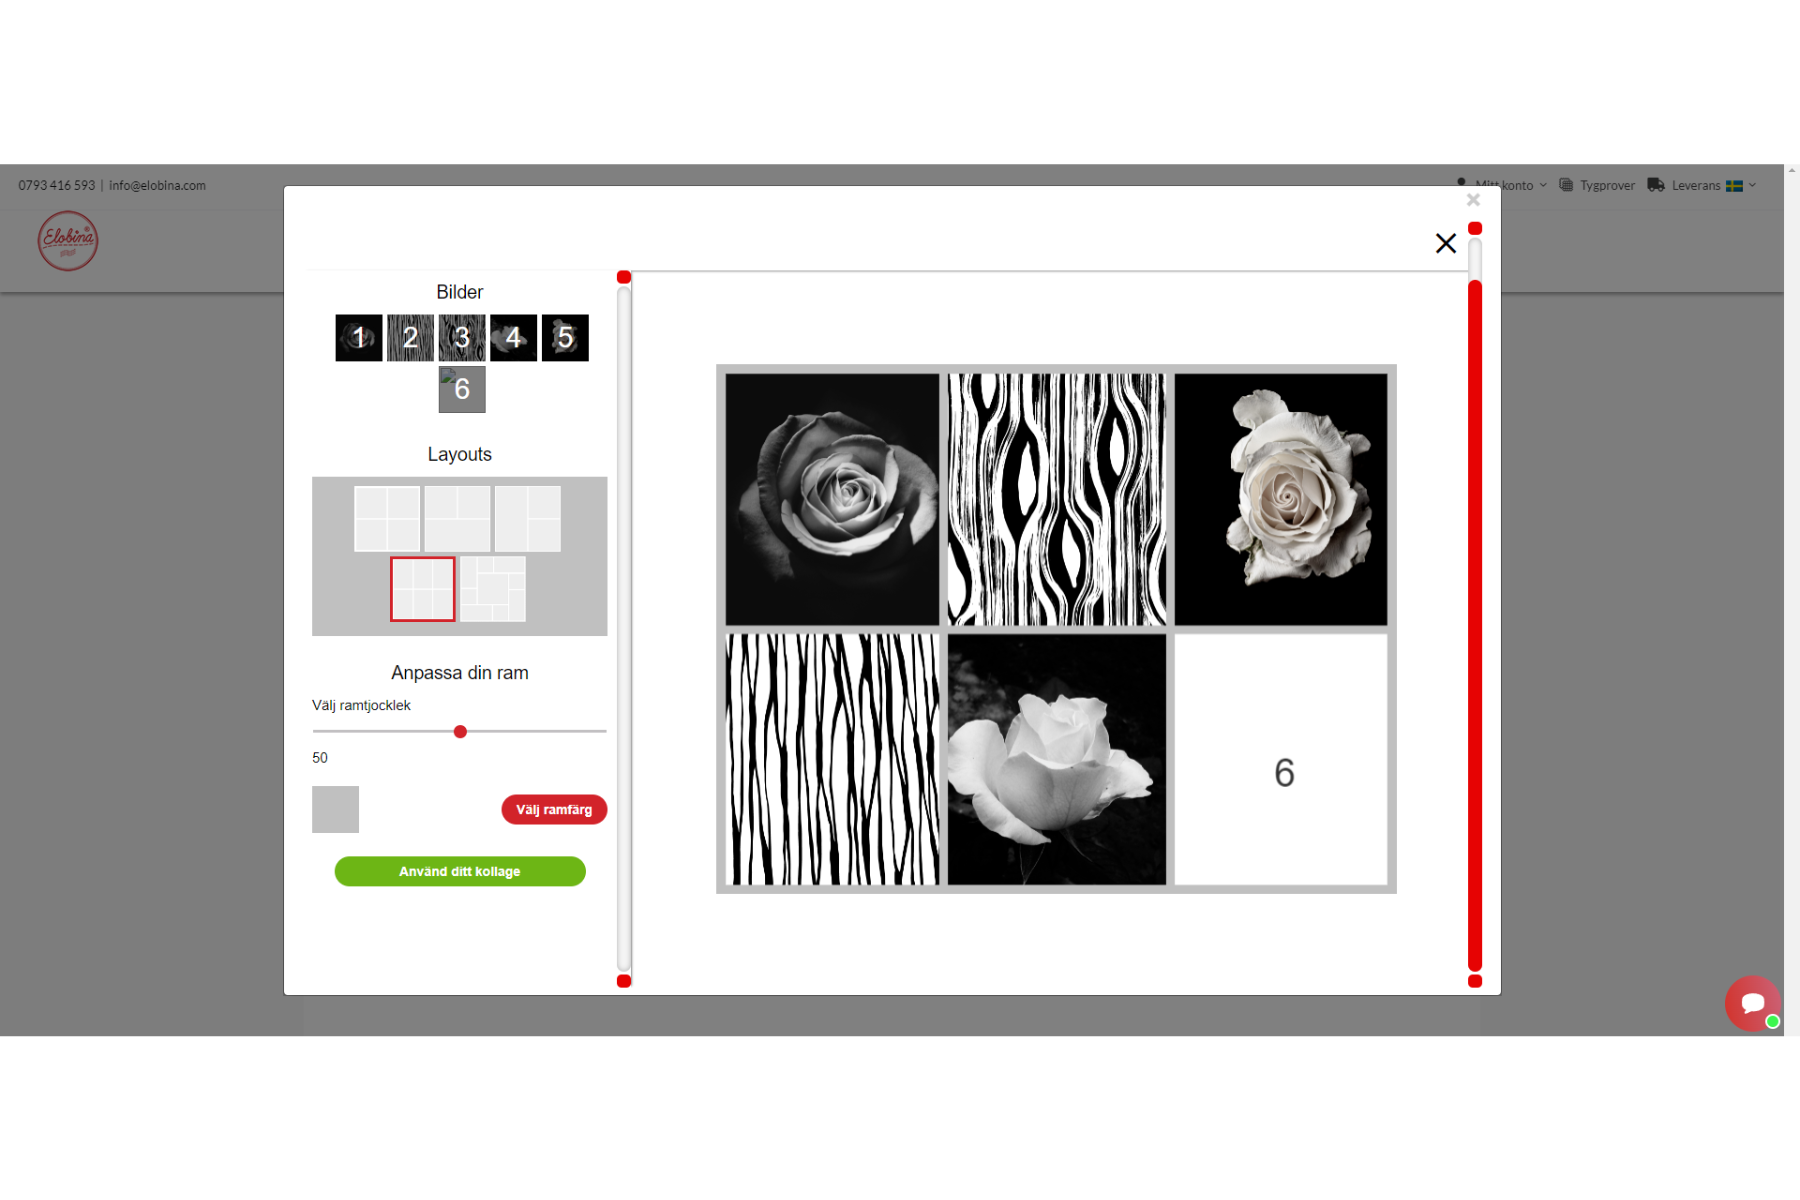
The design studio editor will show after you click “create a product.” In the design studio, select the third button to create a photo collage. The collage has five different layout options. Four photos, six photos, nine images, three images with one horizontal image and three images with one vertical image. Additionally, you can edit the frame’s colour and thickness. I’m going to use the collage option with six images for this blog. I’ll use 3 patterns and 3 images. I’ll just experiment with the thickness and the frame colour.
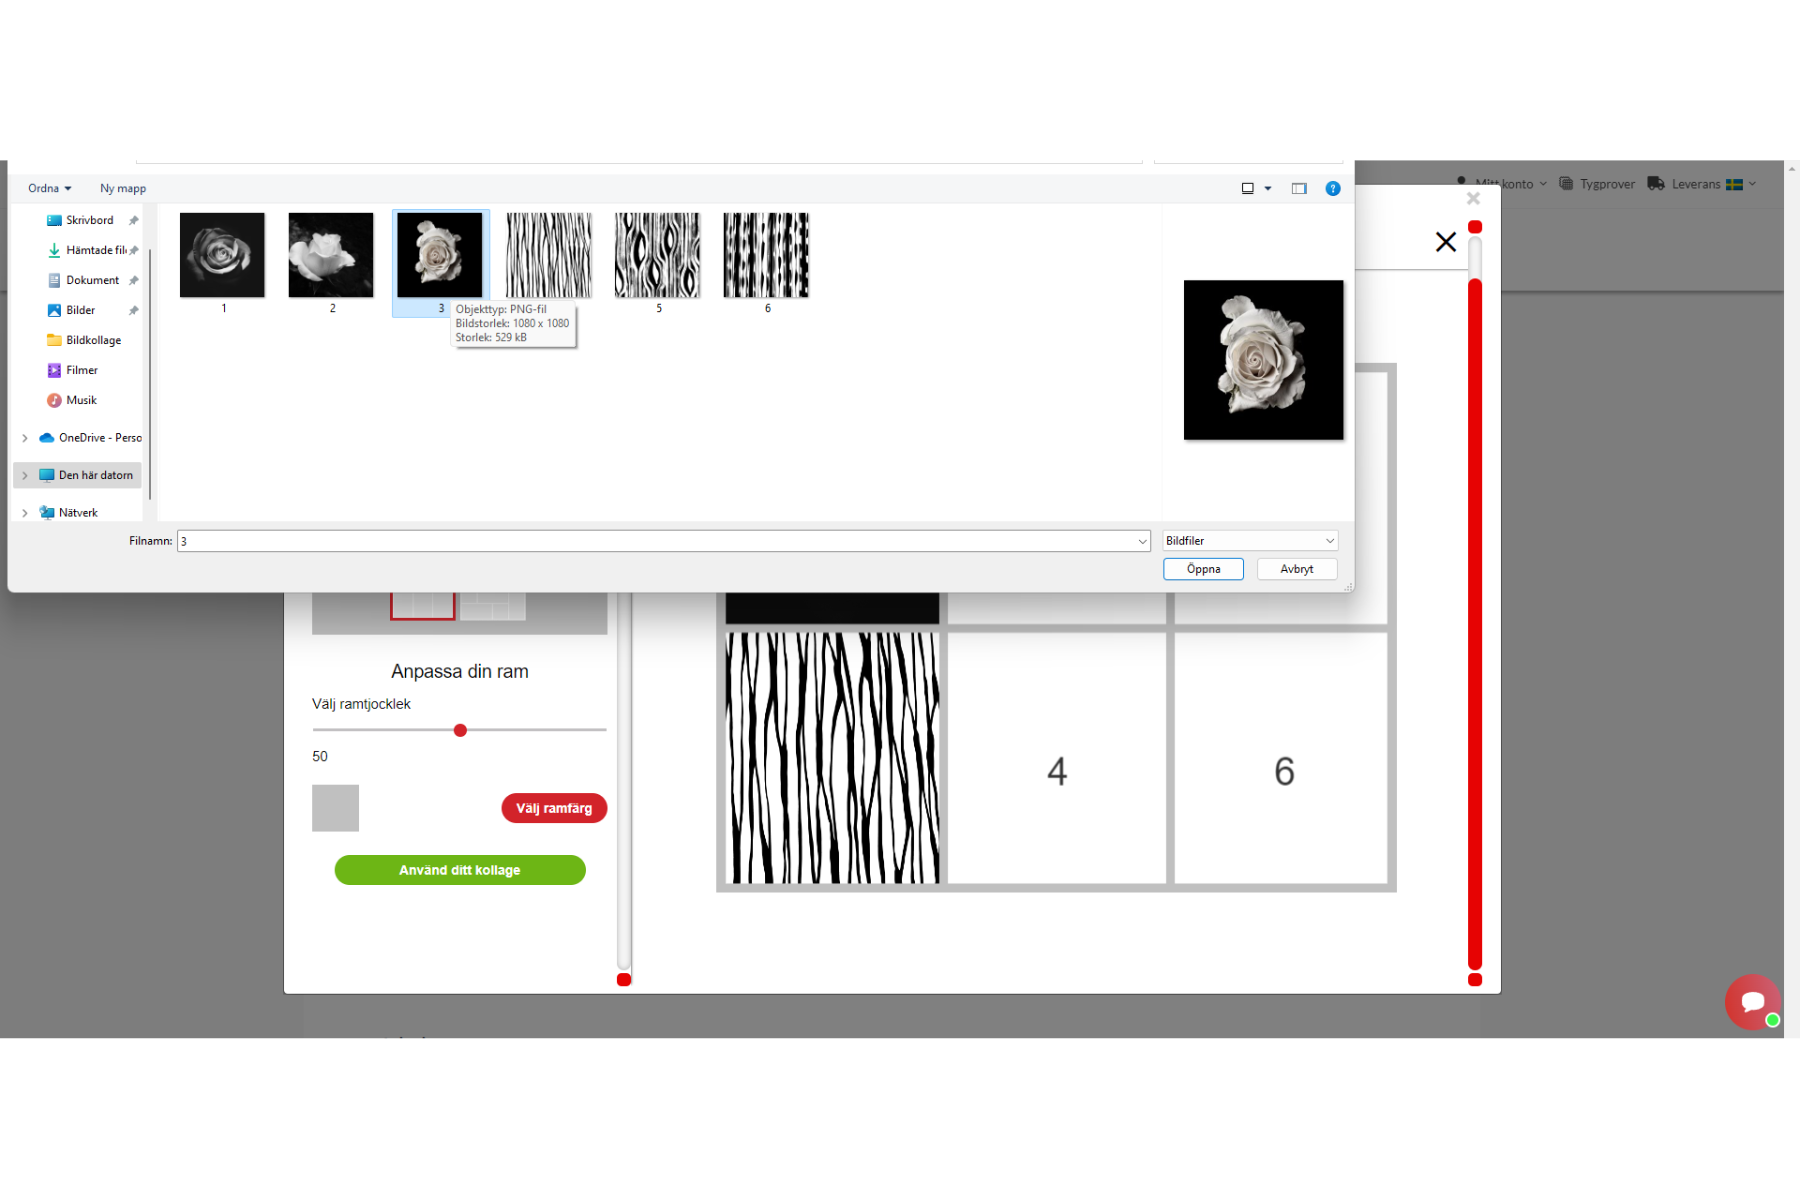
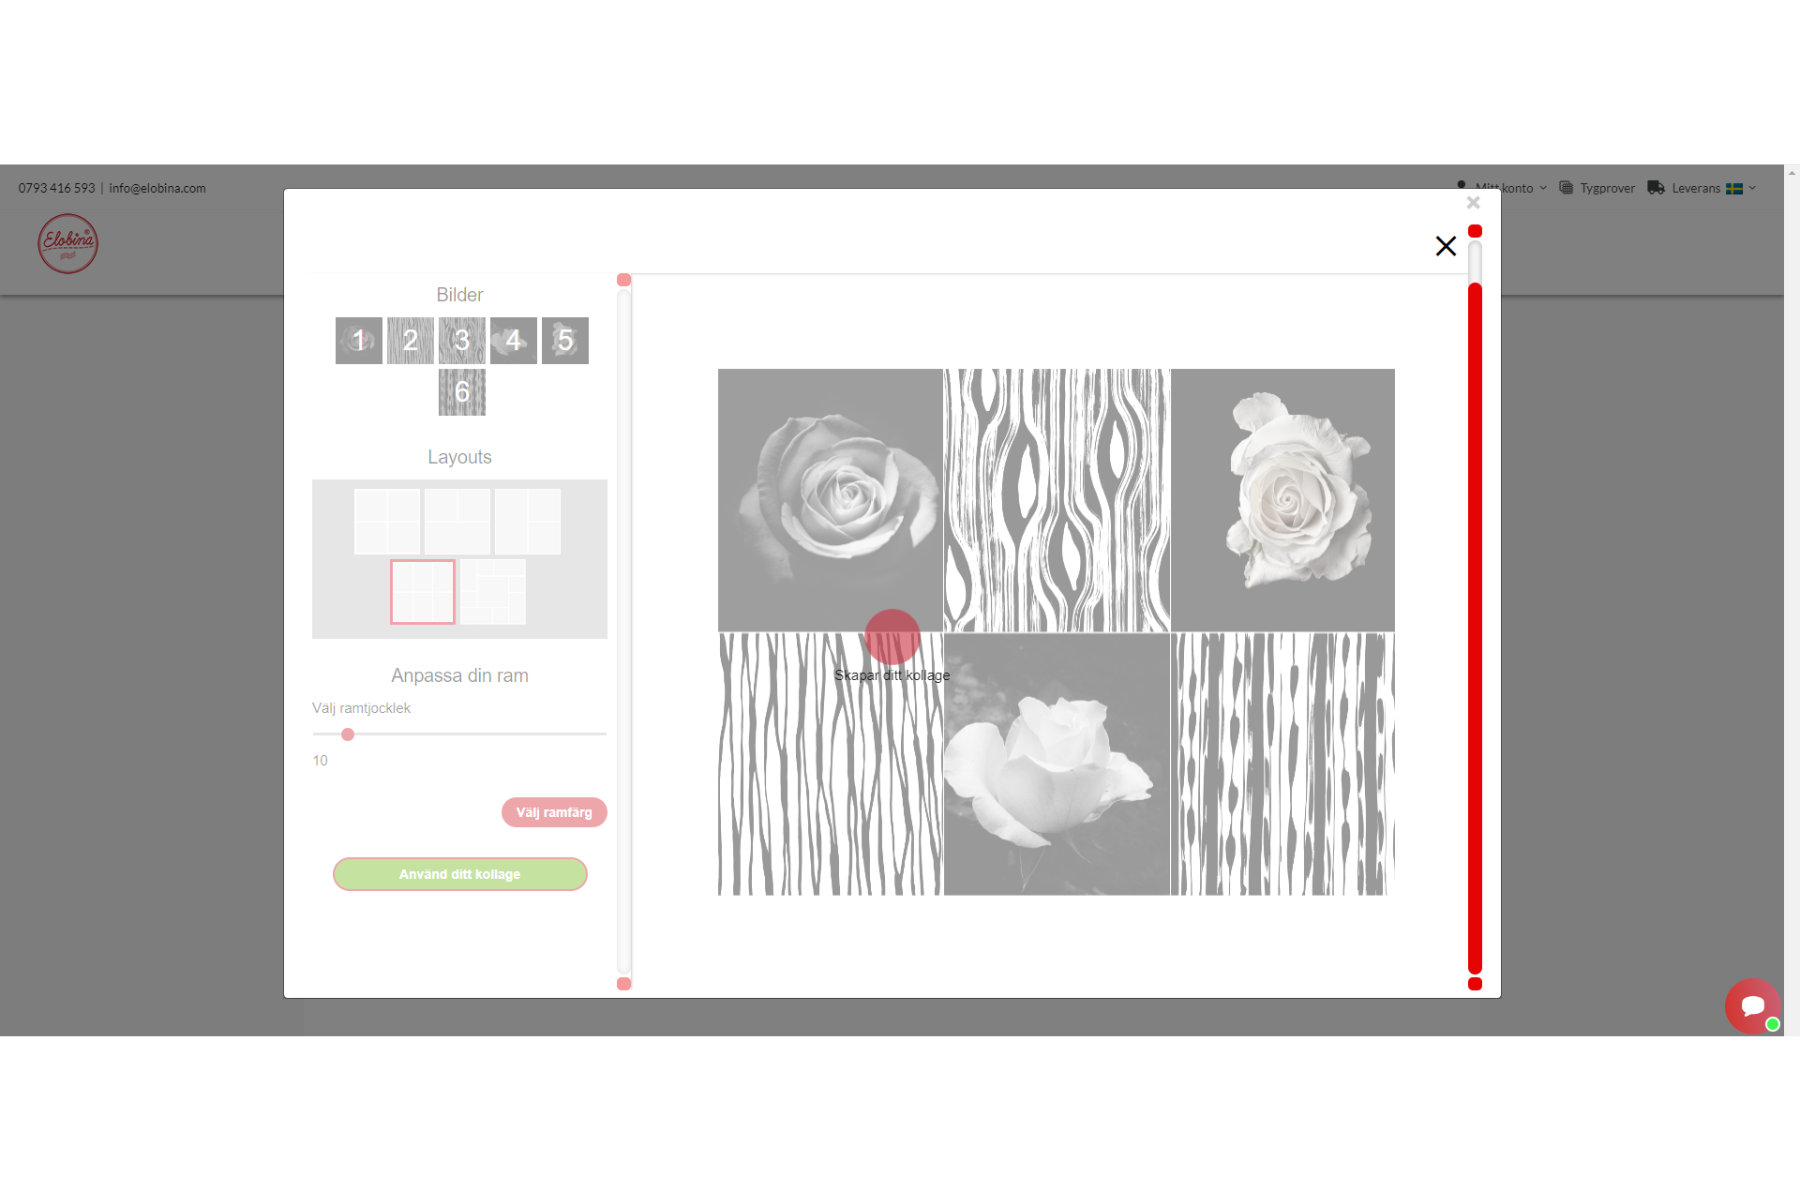
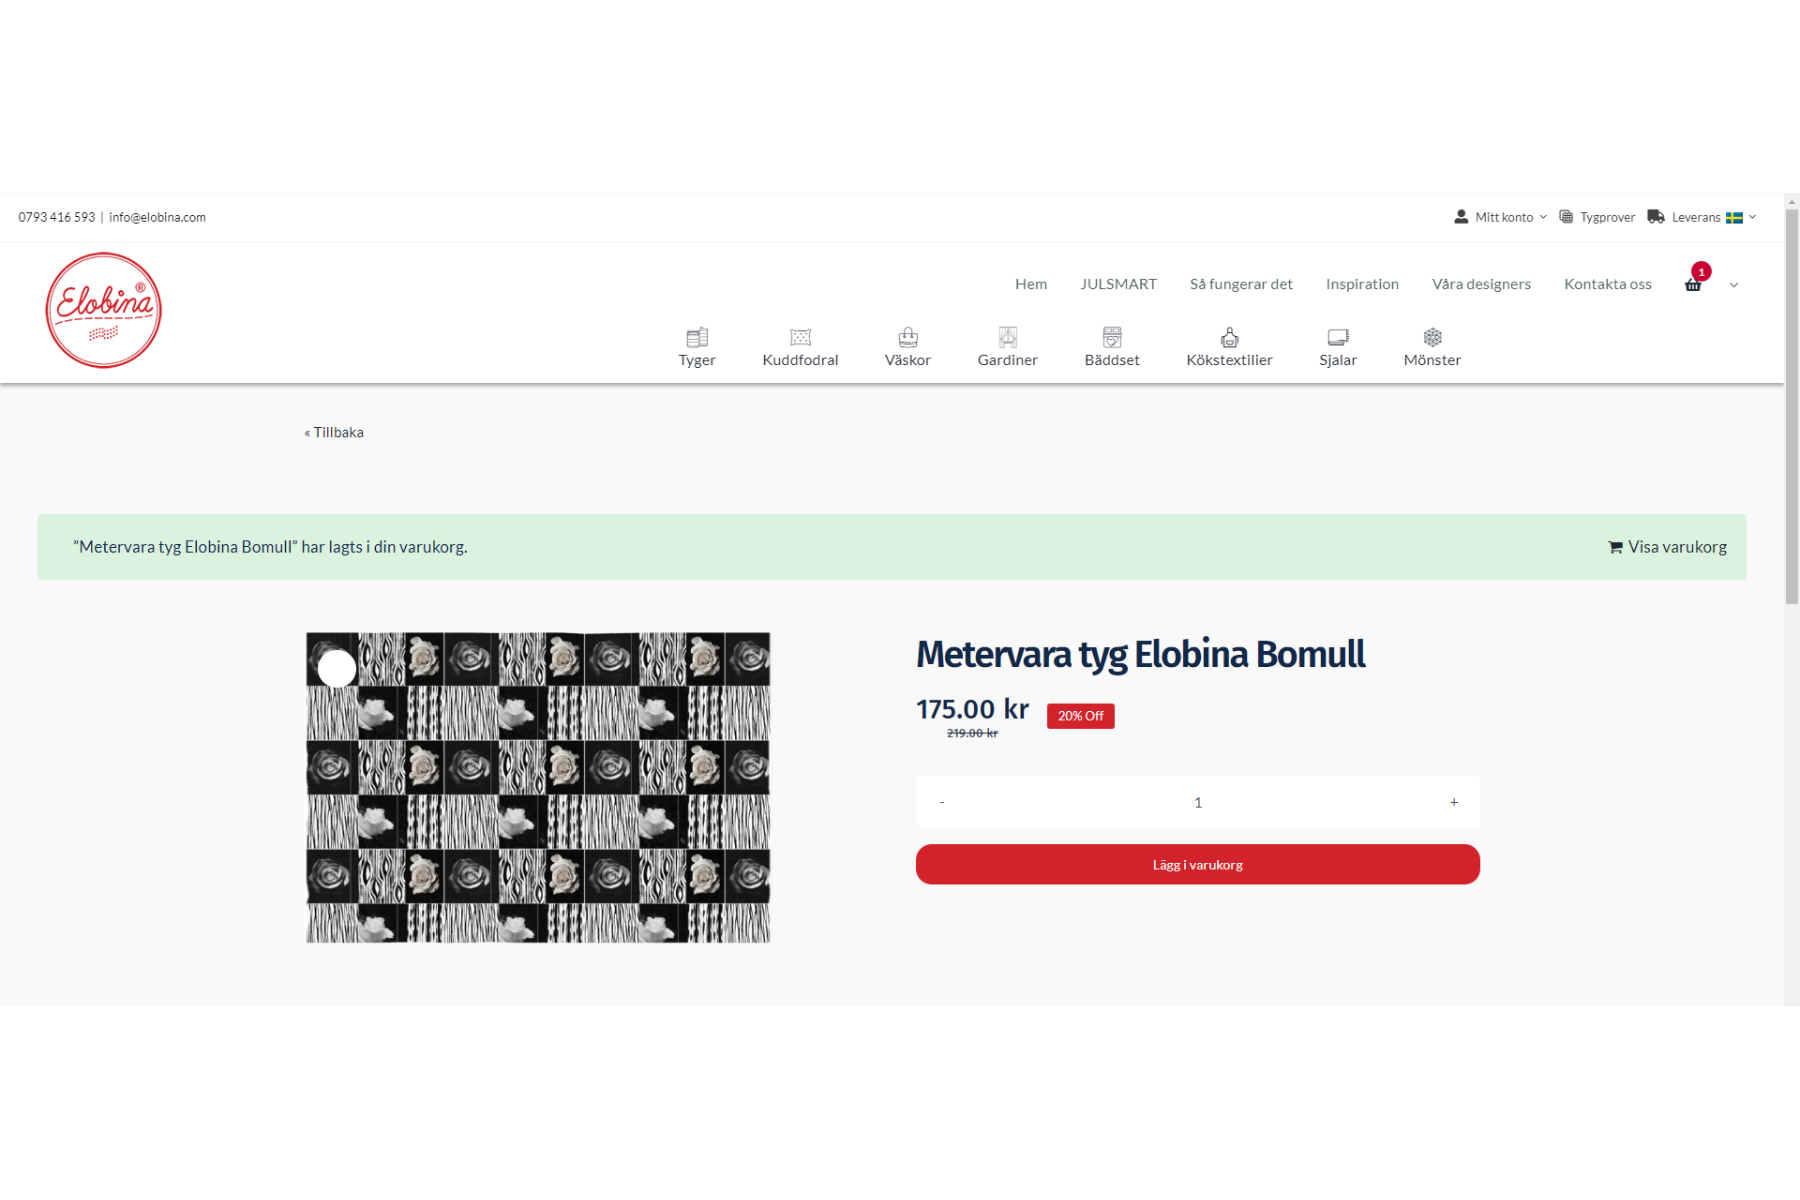
I now have three different rose photos and three different patterns. To add a little variety, I will place them next to one another in alternating order. You must choose each image one at a time and insert it into the desired collage box number in order to upload your patterns and images. Try adjusting the frame’s thickness and colour once you’ve finished arranging all the photos and patterns in their respective boxes. The thickness for this collage was set to 10, and the white frame colour.
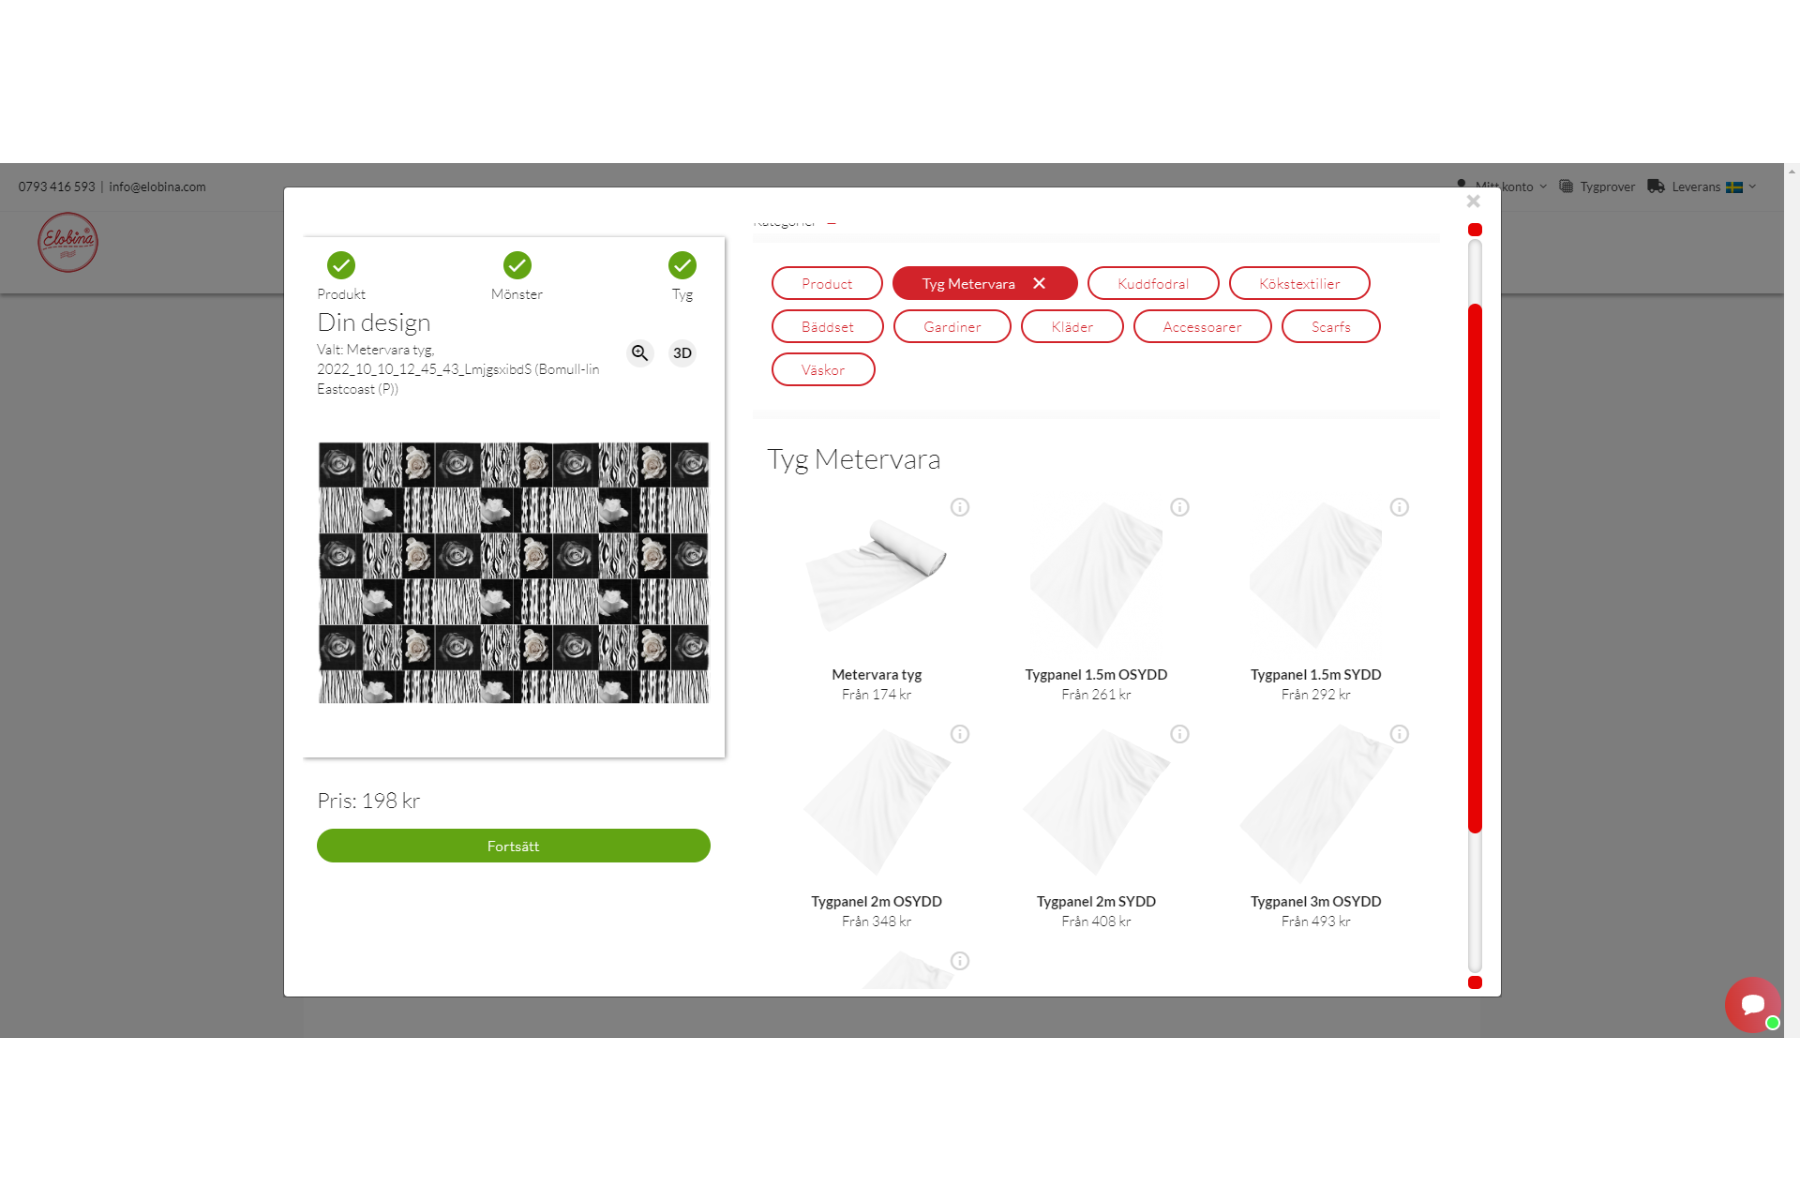
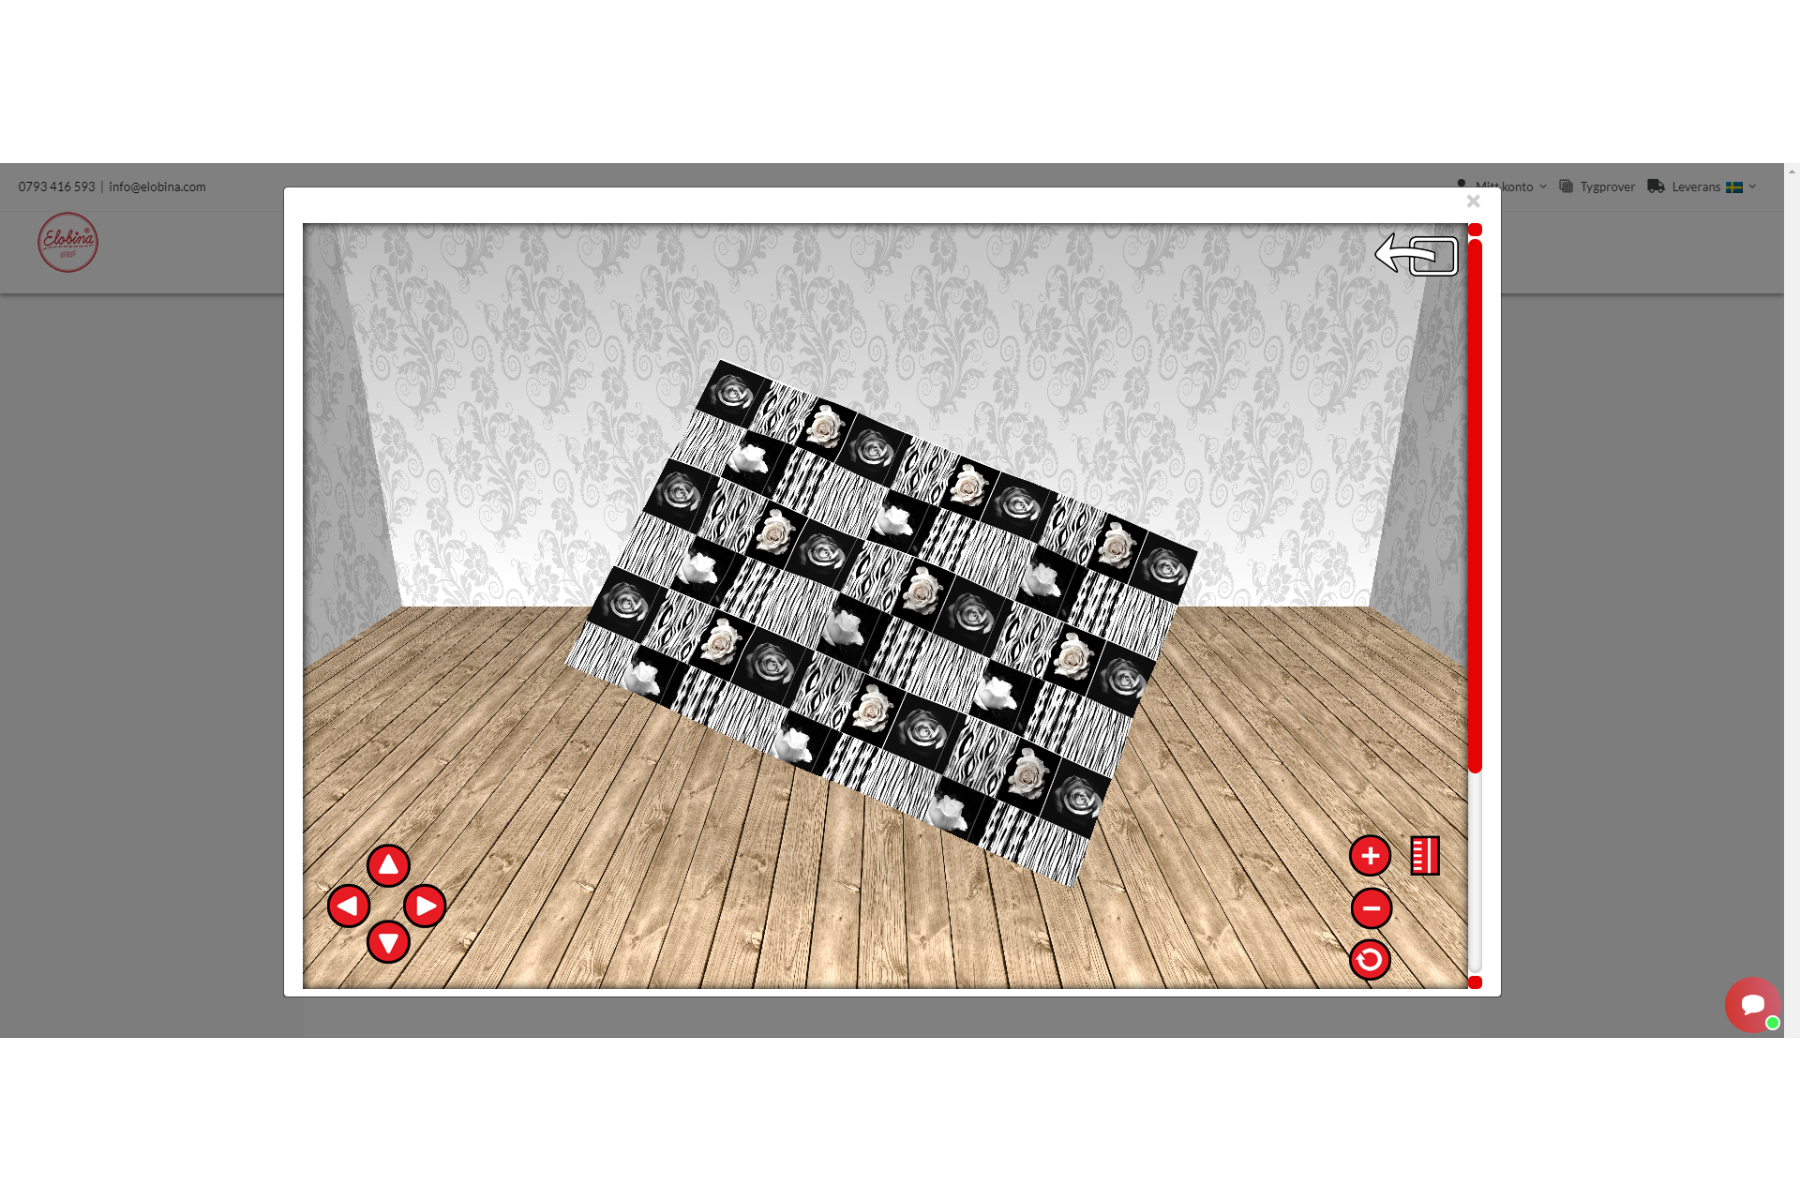
The collage is now ready. You may now use your collage. Given that the collage is 50cm in size and the cloth is 1m, it will be repeated on the chosen product. You can now select “create product.” You have two options: either continue with your product right away or use the design studio’s view in 3D tool to see your product.
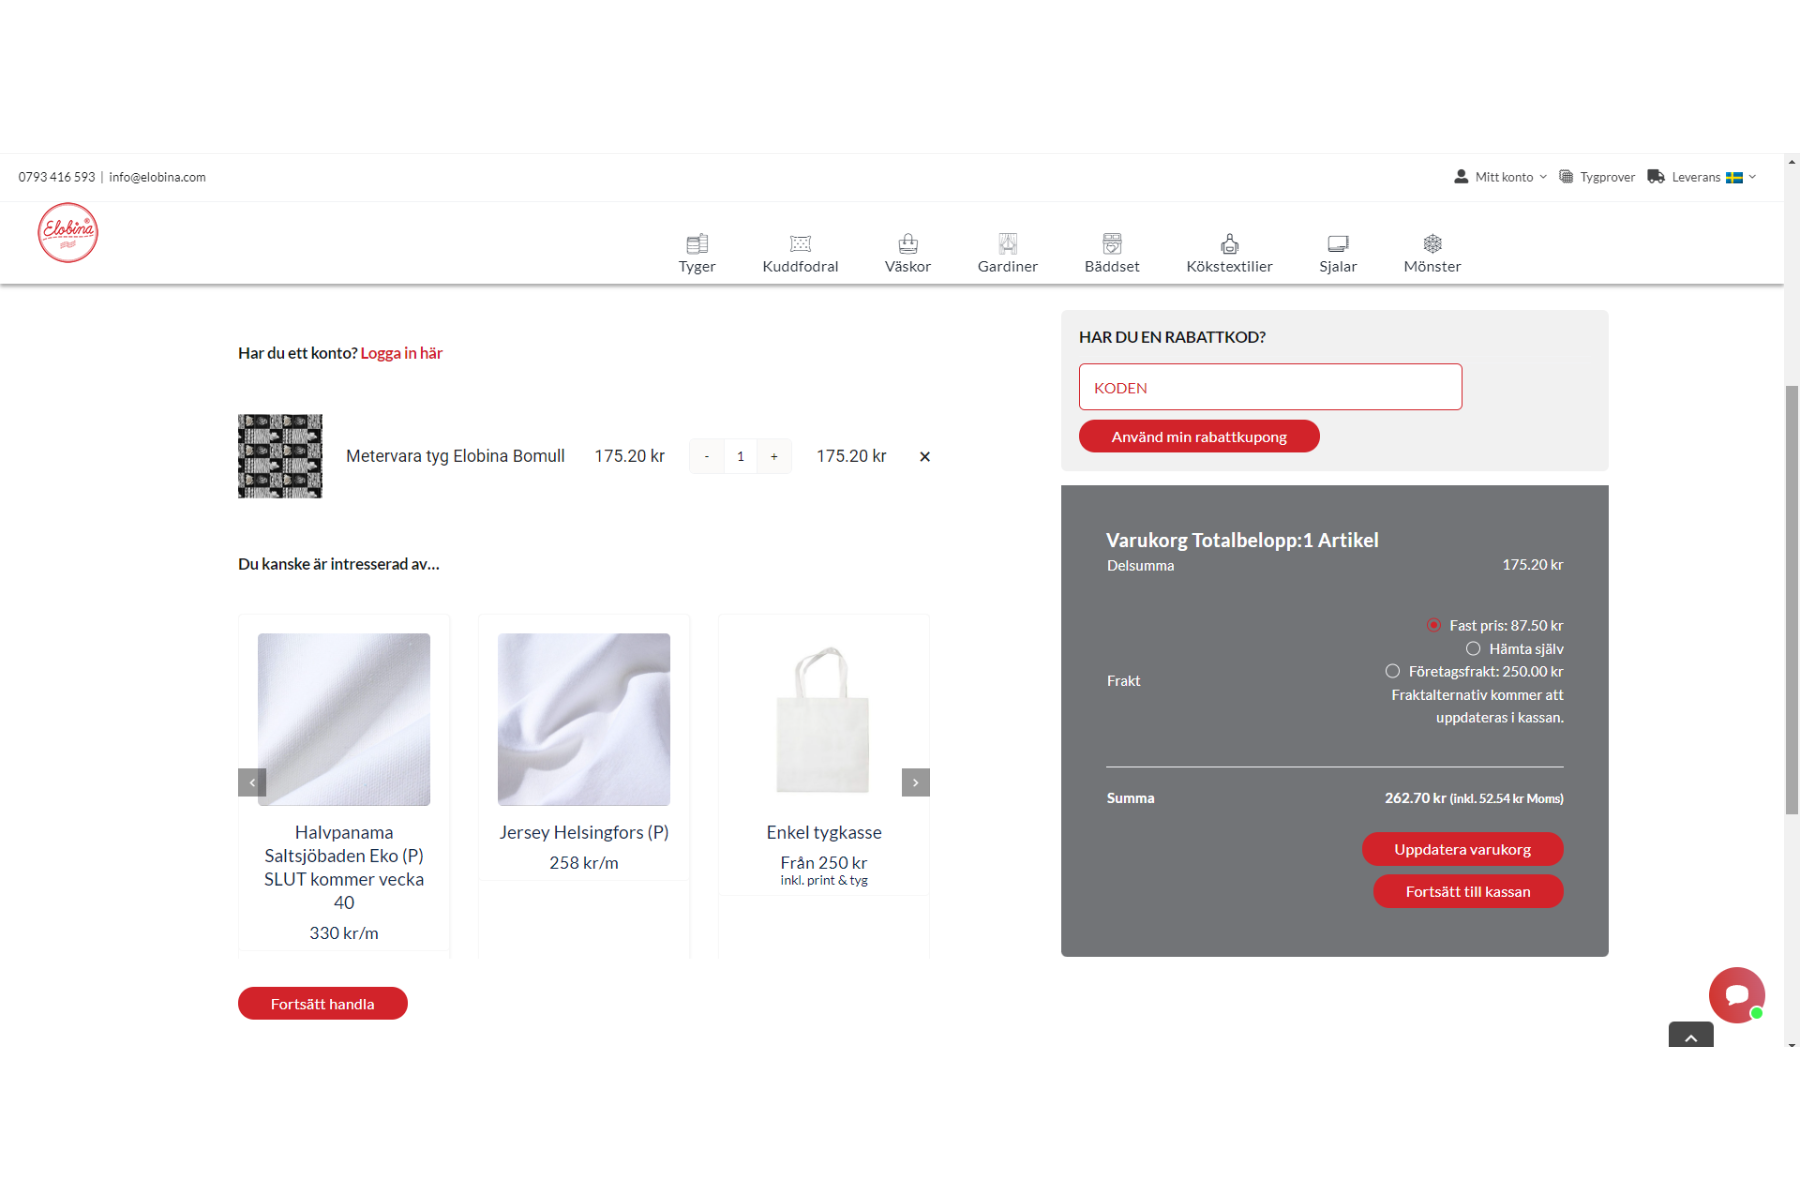
If you want to order more fabric and textile products, you can follow the same procedure again, or you can continue to the shopping cart and checkout to complete the order. Remember to sign in to your elobina account if you have one before adding more items to your cart. If you have a discount code, don’t forget to include it. To ensure that you may always use a discount code when placing your order, we recommend staying up to date with the most recent special offers and discounts.


Leave A Comment